HAL 9000By: Spatula Tzar |
Good morning Dave.
Computer cases bore me. Who ever though beige boxes would be appealing? Not to worry: help is on the way!
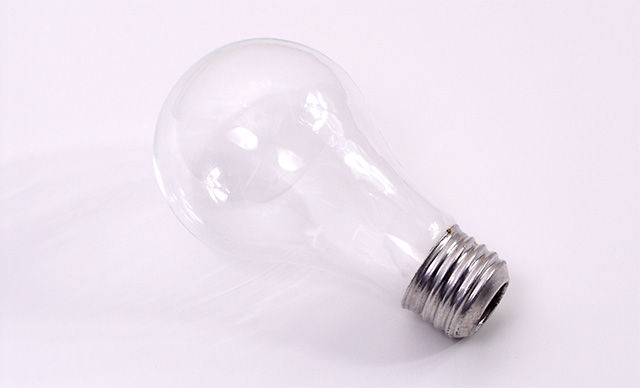 |
First, we need to hollow out the bulb. Here's a good place to start. I went a bit further and ground the sharp edges down with a diamond rotary tool. Rinse it out with a bit of distilled water to leave perfectly clean glass. |
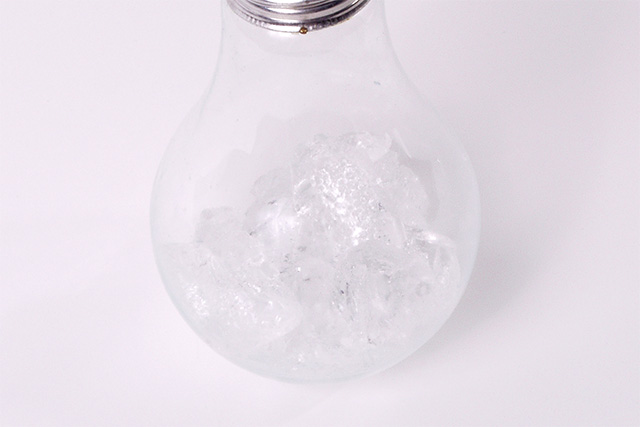 |
Next we make a lens to focus and diffuse the light. I tried many different materials, looking for a substance with the right properties. It needed to be clear, easy to use, and stable enough to not degrade. I tried polyurethane, gelatin, paraffin wax, and even epoxy, but one clearly stood out as the best: candle-making gel. Cut up a few chunks and shove them into the bulb. |
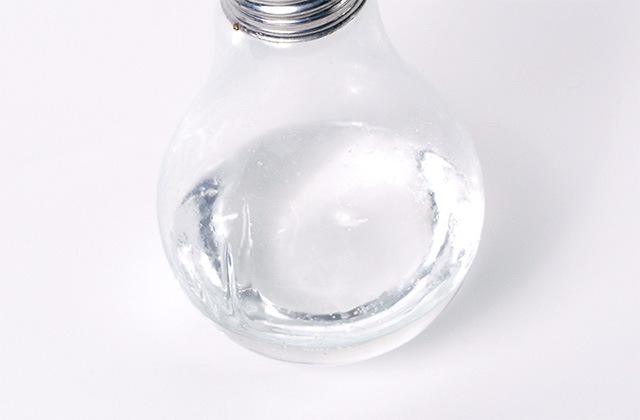 |
Melt the gel with a hot air gun, or by boiling it in water. Once liquid, gently stir it to help remove air bubbles. When fully melted, place it upright to cool and harden. A ringstand or roll of tape works well for this. |
 |
Once the gel is set, mask off the front of the bulb, and give it a heavy coat of black spray paint. This will block extra light behind the lens. I would say I used flat black paint because the glass provides specular highlights, but really I just ran out of gloss. It doesn't make much difference, but I find gloss easier to work with. |
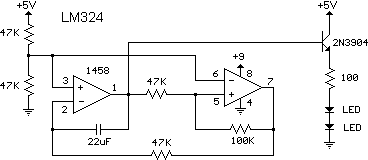 |
Here's the lighting circuit I used. The dual op-amps create a relaxation oscillator, which make the LED slowly fade in and out over a period of about five seconds with the values given. |
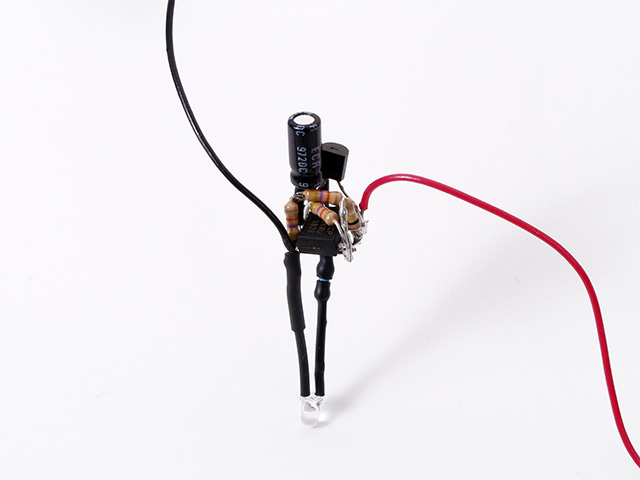 |
The circuit is so simple, I decided to dead-bug it. The components attach nicely to the single chip, and the whole thing is small enough to fit through the opening in the light bulb. |
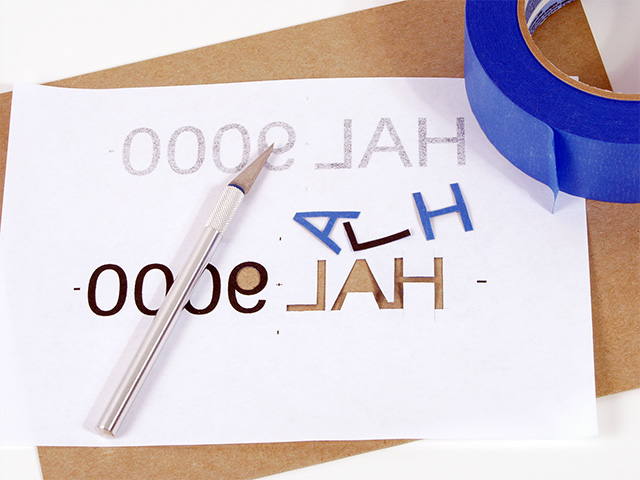 |
No HAL is complete without a name tag. Print out a set of large Helvetica font letters in reverse. Yes, I know I used Arial, but only because I couldn't find Helvetica at the time. I stuck a piece of blue painter's tape to the backside, and slowly cut through both the paper and tape with a sharp hobby knife. A sheet of cardboard underneath will prevent damage to the working surface. |
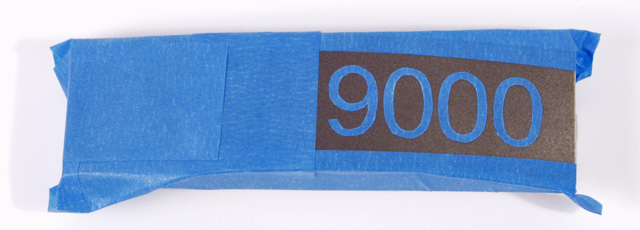 |
Once the letters are cut out, carefully peel the masking tape off the paper. I've found the knife works well to separate the layers. Mask off half the nameplate, place the digits on the other side, and have at it with the spray paint. Remove the letters when the paint is nearly dry to the touch, but still tacky. This will prevent the paint from tearing around the edges. |
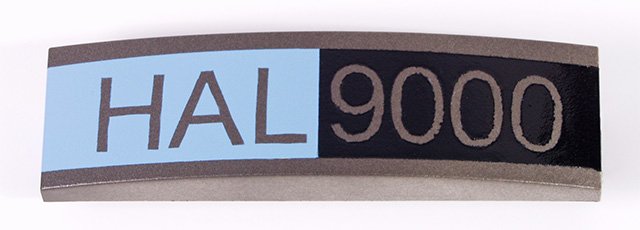 |
By masking half the nameplate, a dual-colour effect can be achieved. |
 |
The bezel was constructed out of two drive bays, welded together with acetone. A hole saw created the circular opening, and the paint job was created with the same method as the nameplate. |
 |
I used a clever mixture of wire and hot glue to secure the bulb in the bezel. The wire supports most of the weight, while the glue keeps it from shifting. The lighting circuit was wrapped in shrinktube for insulation. I intended to hot glue it as well, but coincidentally it fit firmly. |
 |
Mask and paint the rest of the case. The silver gradient was created by carefully blending two colours of paint together. I originally intended it to be a solid colour, but I ran out of it before I could finish. It turned out quite nicely though; it gives HAL a rather rustic appearance. |
 |
"I'm completely operational, and all my circuits are functioning perfectly." The bubbles in the lens combined with my umbrella light give HAL a definite extraterrestrial atmosphere (or lack thereof). |
 |
Daisy, daisy... |
Bitcoin: 1KEWmWK3Sn9ToEHxhXmoXax6ycNGgLMfLv